 Change currency
 USD
USD
This is a general guide. Always follow your printer manufacturer’s instructions first.
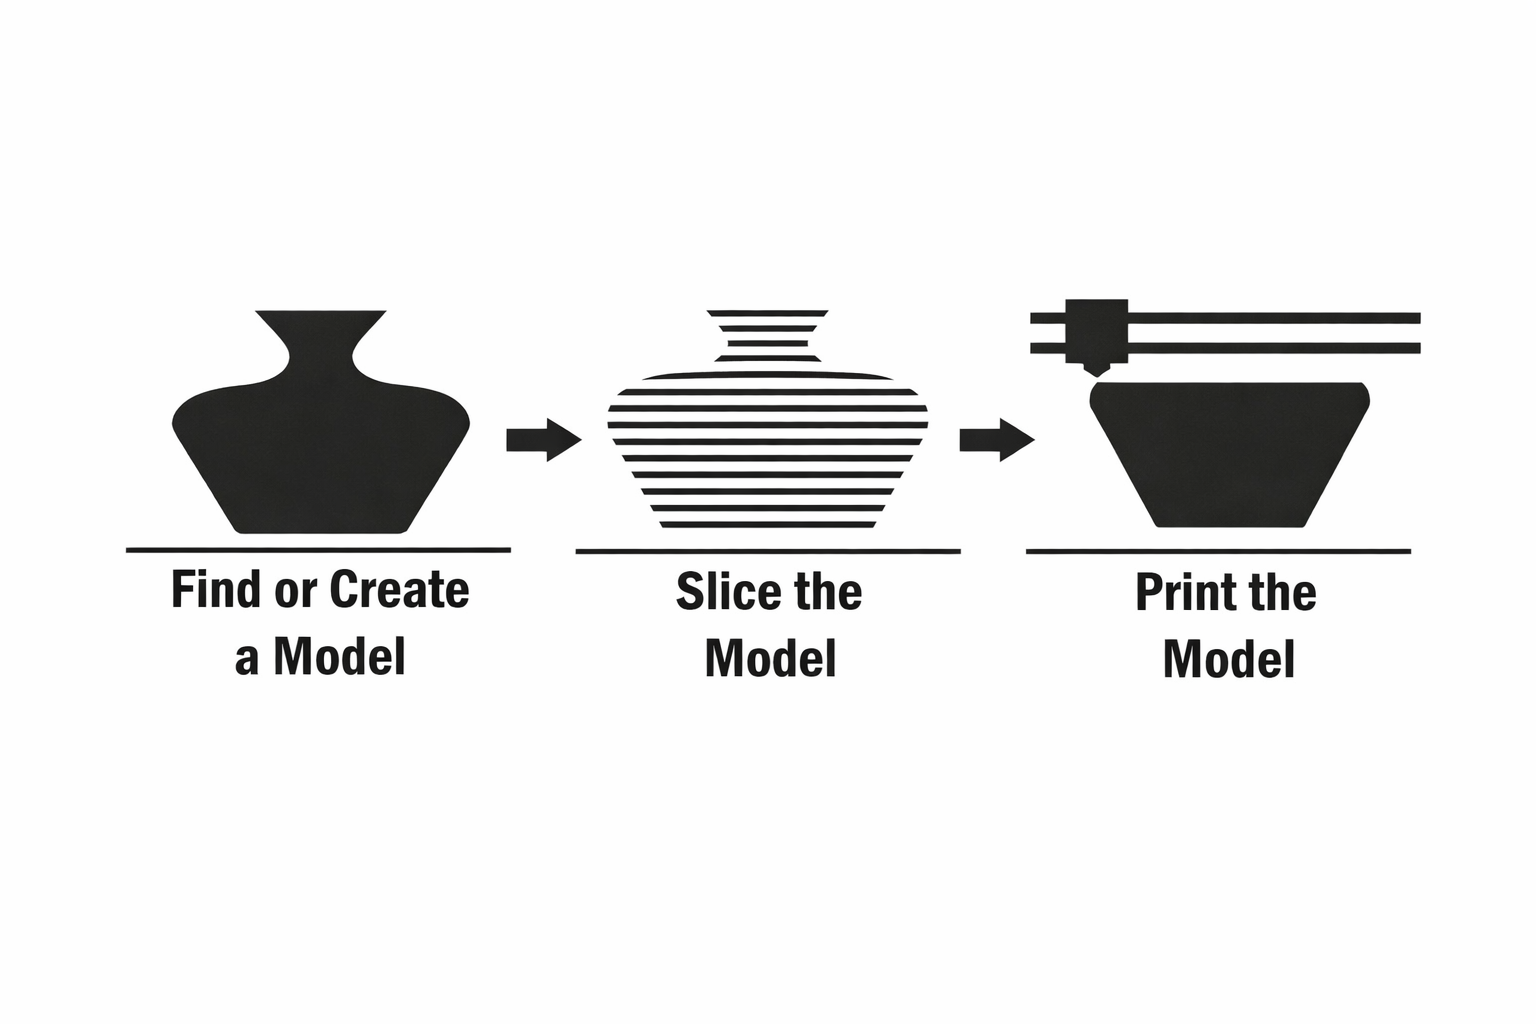
A slicer is the software that prepares your model for printing. It takes your STL file and converts it into layers your printer can understand.
The most popular slicers today are
3D printing starts with an STL file. You can use one you already have or download one from our site. You don’t need to know sculpting or CAD to begin. Just choose a model you want to print.
Once you have your STL, open it in your slicer. Drop the STL into the slicer and it will appear on the virtual print bed. Most slicers automatically repair small issues, so you usually don’t need to fix anything manually unless the model slices strangely.
For basic settings, use a layer height of 0.2 mm for general prints. If you want finer detail, go down to 0.12 to 0.16 mm. Use two or three walls for strength without wasting filament. Infill between ten and twenty percent is fine for most prints. Speed around forty to sixty millimetres per second keeps things clean. PLA usually prints well at two hundred to two hundred and ten degrees. The bed temperature for PLA is normally sixty degrees. Turn supports on only if your model has overhangs that need help. Leave retraction on the slicer’s default settings.
When you are ready, click Slice. The slicer will convert the STL into G code, which is the instruction file your printer understands. You will see the estimated print time, filament usage and a preview of each layer. If the preview looks correct, you can send the file to your printer.
Printers accept files through SD card, USB cable or WiFi depending on the model. Choose whichever method your printer supports. Make sure your printer is ready: clean bed, nozzle clear, filament loaded, bed levelled (if required). Start the print from the printer’s menu and watch the first layer. If the first layer sticks properly, the rest of the print usually goes smoothly.
When the print finishes, let it cool before removing it. Take off any supports and tidy up the edges if needed. That is the full beginner process from STL to finished print.